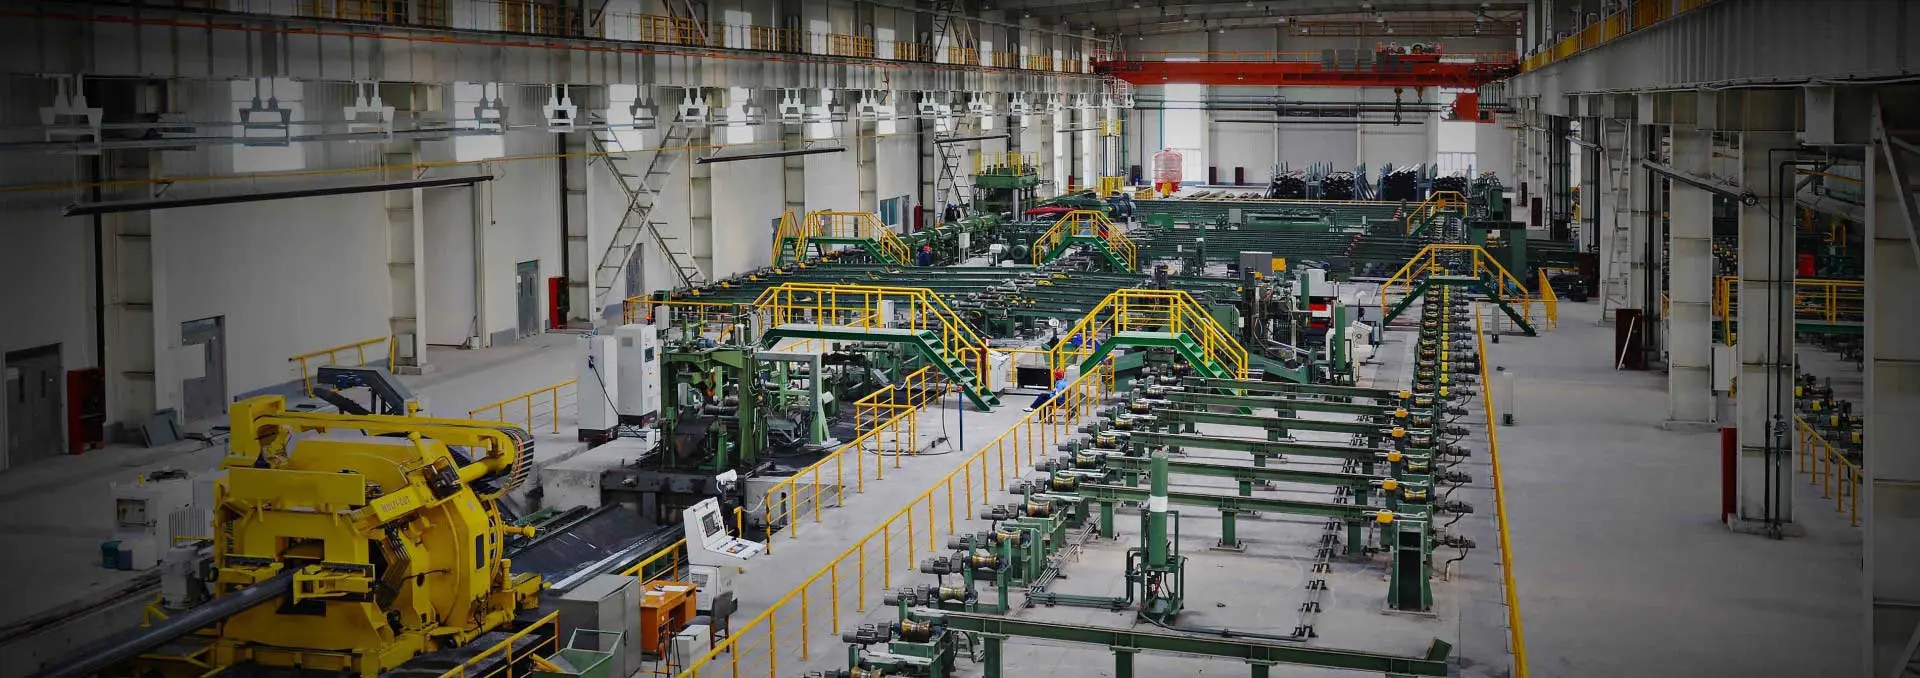
Ensuring the quality of spiral steel pipes is critical to their performance in various applications. The acceptance process involves comprehensive inspections, testing, and classifications to determine their suitability. Below is an outline of the acceptance principles, inspection methods, post-inspection treatments, and final classifications.
1. Acceptance Principles for Spiral Steel Pipes
The acceptance of spiral welded pipes is conducted by the supplier’s technical quality supervision department. Suppliers are responsible for ensuring that the delivered pipes meet the requirements of the corresponding product standards. Buyers are entitled to inspect and accept the pipes based on these standards. Key points include:
Spiral welded pipes are submitted in batches for acceptance, with batch rules adhering to product standards.
Inspections cover items such as sampling quantities, locations, and methods specified in the relevant standards.
Sampling can also be conducted by rolling groups with buyer consent.
2. Classification of Spiral Steel Pipe Inspection Methods
2.1 Visual Inspection
This straightforward method involves examining the pipe’s surface for weld defects and dimensional deviations.
Standard tools such as magnifying glasses and measuring instruments are used to detect surface anomalies.
Surface defects often indicate potential internal issues.
2.2 Physical Testing Methods
Non-destructive testing (NDT) methods are commonly used to detect internal defects. These include:
Ultrasonic Testing
Radiation Testing
Penetration Testing
Magnetic Particle Testing
2.3 Water Pressure Testing
Pipes undergo water pressure tests to ensure there are no leaks under specific pressure conditions.
Test pressure is calculated using P=2ST/D, where:
S = Minimum yield strength of the steel (e.g., Q235 at 235 MPa)
T = Wall thickness
D = Outer diameter
Stabilization times are typically:
Less than 5 seconds for D<508 mm
Less than 10 seconds for D≥508 mm
2.4 Strength Testing
In addition to airtightness tests, strength tests are conducted to assess weld and material performance under pressure.
Hydrostatic tests are commonly used, offering higher sensitivity but requiring wastewater treatment after testing.
2.5 Compactness Testing
Identifies welding defects such as cracks, pores, and incomplete penetration.
Common methods include kerosene, ballast water, and flushing tests.
3. Treatment After Initial Inspection
If an item does not meet product standards, unqualified pipes are removed, and double the sample size is re-tested.
If re-test results still fail, the batch is rejected.
Pipes with unqualified re-test results can either:
Be submitted for individual acceptance.
Undergo up to two re-heat treatments and be re-submitted as a new batch.
Chemical composition acceptance is based on smelting composition unless otherwise specified.
4. Final Classification of Spiral Steel Pipes
After quality inspections, pipes are categorized as follows:
Qualified Products: Meet all standards for appearance and internal quality.
Repaired Products: Initially fail to meet standards but are repairable and meet requirements post-repair.
Scrapped Products: Fail to meet standards even after repair or are non-repairable.
By adhering to these acceptance standards, suppliers and buyers can ensure that spiral steel pipes meet stringent quality requirements for safe and reliable use.

 English
 Español


 Tel : +86-18565811709
 Email :
 News
News


