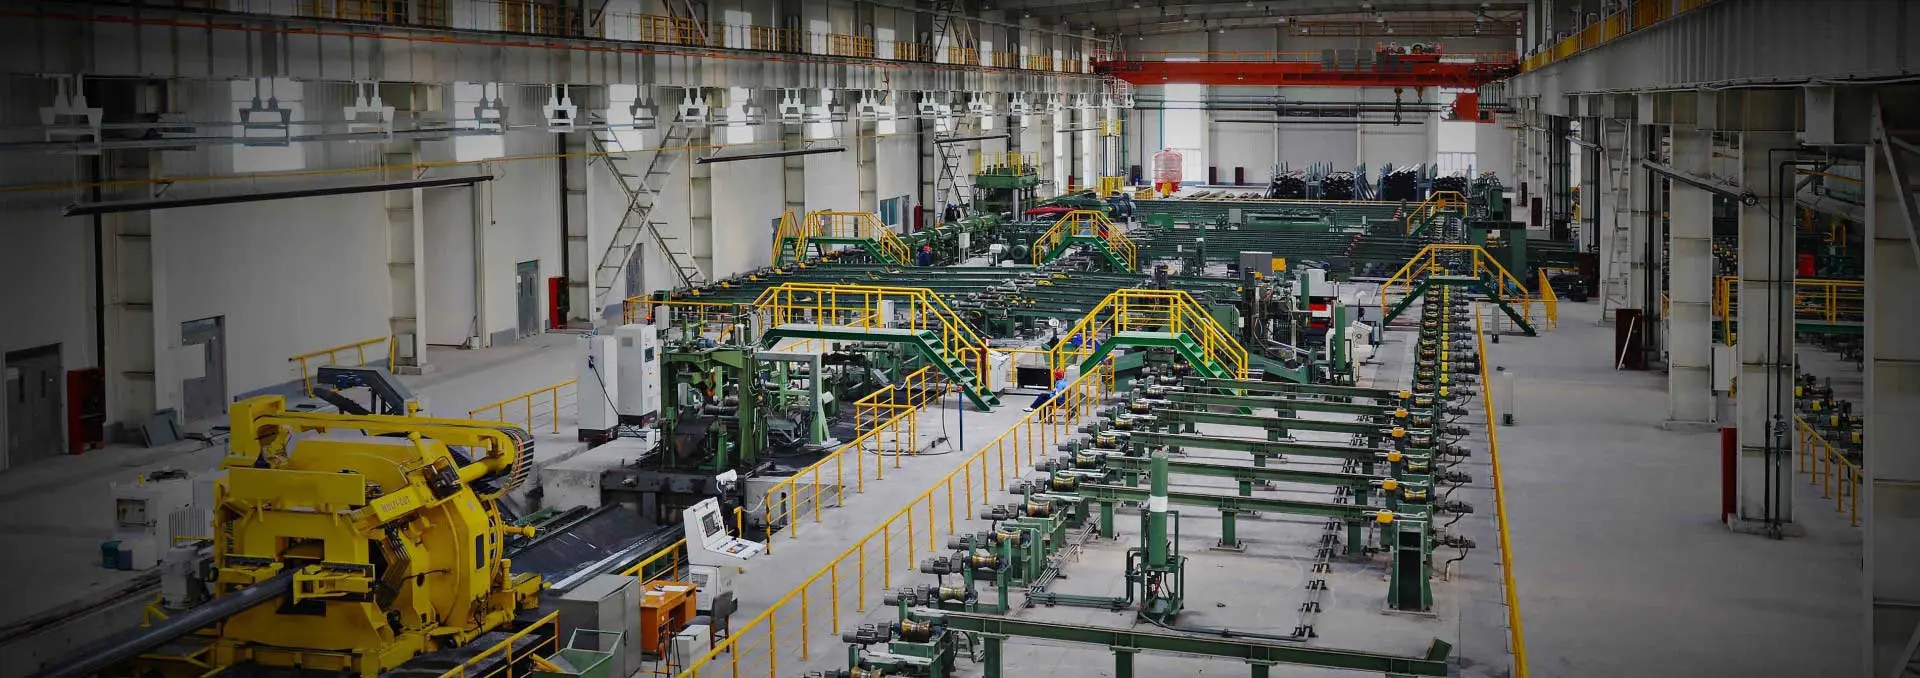
The quality inspection process of ERW (Electric Resistance Welded) steel pipes involves several stages, including online non-destructive testing, metallographic examination, flattening and flaring destructive tests, and hydraulic tests. The detailed steps are as follows.
1. Online Non-Destructive Testing
The detection station's arm is rotated and positioned within the longitudinal welded pipe production line. The camera monitors the weld position.
Adjust the probe using the operating rod to align the weld with the laser, and save the parameters. Input the coil number into the DATASERVR and DACQ computers.
Observe the waveform display on the flaw detection interface. If the waveform exceeds the alarm line, compare it with thickness measurement data to determine whether it is a defect wave or an interference signal.
Visually inspect the pipe if the waveform exceeds the alarm line. If an alarm is triggered, shut down the production line and readjust the welding parameters.
2. Metallographic Examination
Weld Metallographic Microstructure:
After heat treatment, assess whether the coarse structure in the heat-affected zone is completely eliminated and matches the base material.
Check for inclusions in the weld fusion line and ensure the weld is free of inclusions, microcracks, and has a consistent structure, indicating a sound weld.
Metal Streamline Morphology:
In high-frequency welding, the proximity and skin effects cause the strip edge to melt or become semi-molten. Under the pressure of the squeezing roller, the weld metal flows inwards and outwards.
The parent metal flow line on both sides of the weld forms a clip angle, known as the streamline angle (α). A streamline angle between 40°and 70°is considered acceptable. Outside this range, welding process parameters need adjustment.
3. Destructive Testing
Flattening Test:
Cut a 100mm section of welded pipe and place it under a hydraulic press with the weld perpendicular to the press direction.
Gradually apply pressure until the pipe is pressed to 3/4 of its diameter. Inspect for cracks in the weld. If no cracks appear, the weld is sound; if cracks are present, adjust welding parameters.
Flaring Test:
Place a 100mm section of welded pipe on a conical top core under a hydraulic press.
Gradually apply pressure until the pipe is flared to 8%. Inspect for cracks in the weld. If no cracks appear, the weld is sound; if cracks are present, adjust welding parameters.
4. Hydraulic Test
Seal both ends of the welded pipe using flanges, then fill the pipe with water.
Gradually apply pressure to the required standard. After a specified period, visually inspect the pipe weld for leakage.
If no leakage is detected, the weld is sound; if leakage is present, adjust the welding parameters accordingly. The hydraulic test is the final step in the quality inspection of the welded pipe, ensuring no leakage and confirming the weld's integrity.
By following these meticulous inspection processes, the quality and reliability of ERW steel pipes are ensured, meeting the required industry standards.

 English
 Español


 Tel : +86-18565811709
 Email :
 News
News


