STK490,Concrete Weight Coating pipe,LSAW Steel Pipe,Elbow

STK490

flange,ERW Steel Pipe,Drill Pipe
STK490,Concrete Weight Coating pipe,LSAW Steel Pipe,Elbow

STK490

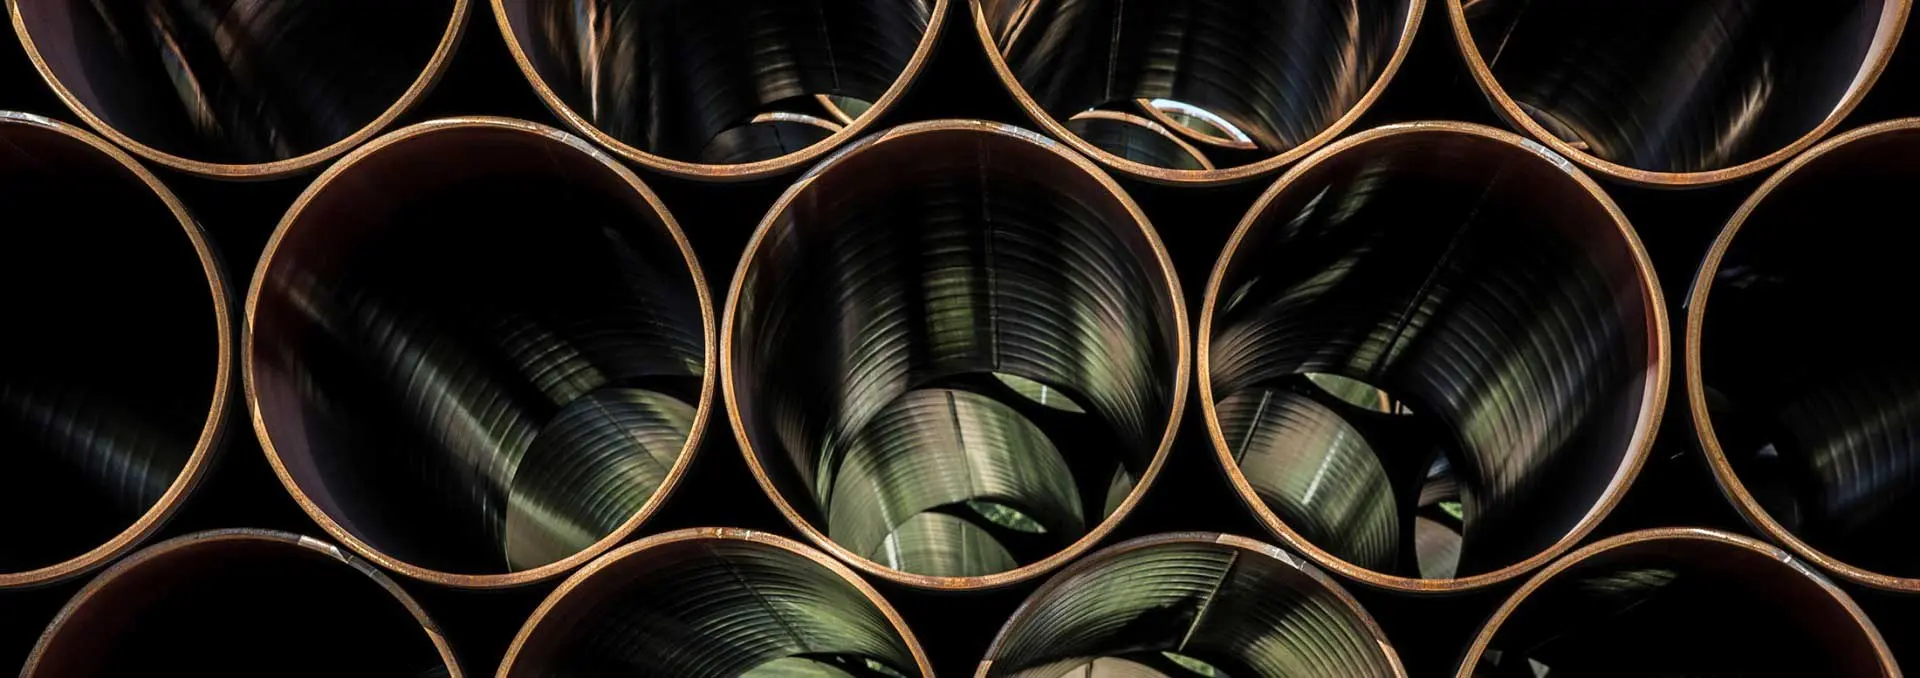
JISG3444 STK490 carbon steel tubes are utilized in civil engineering and architectural structures such as steel towers, footing piles, foundation piles, landslide suppression piles, and many others. This standard belongs to the Japanese Industrial Standard.

Grade: STK490

Outer Dimensions: 6mm ~ 350mm.

Wall Thickness: 2mm ~ 22 mm.

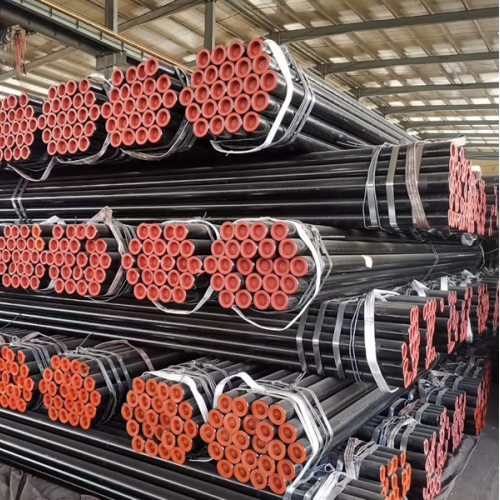
Packing: wooden protection/Beveled/black painting/ plastic caps/ in bundles/ steel strips.
Surface treatment: Varnish, Passivation, Phosphating, Shot Blasting, Oil-dip.
Mark: As customer’s request.

Delivery Condition: Annealed, Normalized, Normalized, and Tempered.

  • MANUFACTURING METHOD OF JIS G3444 GRADE STK490 STEEL PIPE

    The manufacturing method shall be as follows:


    Tubes should be constructed in accordance with a combination of the tube production and finishing methods specified in the JIS standard. If necessary, the tube may be subjected to a suitable heat treatment.


    Tubes may be manufactured using coated steel sheet or coated steel strip at the purchaser’s desire.


    Bevel end finishing may be specified by the consumer, in which case the form will be determined by the maker and the purchaser.


  • GRADE SYMBOL AND SYMBOL OF MANUFACTURING METHOD OF JIS G3444 STK490

    Symbol of Grade Symbol of Manufacturing Method Marking of Symbol of Manufacturing Method
    Tube manufacturing Finishing method
    STK490
    Seamless: S
    Electric resistance
    Butt welded: B
    Automatic arc welded: A
    Hot finished: H
    Cold finished:  C
    As electric resistance
    welded: G
    As given in clause 11 b)

  • JIS G3444 STK 490 CHEMICAL COMPOSITION

    Symbol of Grade C Si Mn P S
    STK490 0.18 max. 0.55 max. 1.65 max. 0.035 max. 0.035 max.
    Notes
    a) If necessary, alloying elements other than specified in this table may be added.
    b) For the tube of grade STK540 exceeding 12.5 mm in wall thickness, the chemical composition may be subject to the agreement between the purchaser and the manufacturer.
  • JIS G3444 GRADE STK 490 MECHANICAL PROPERTIES

    Symbol of Grade
    Tensile Strength
    N/mm²
    Yield Point of Proof Stress
    N/mm²
    Tensile Strength in Weld Zone
    N/mm²
    Flattening Bendability
    Distance between Plates
    (H)
    Bend Angle Inside Radius
    Applied outside diameter
    All outside diameters All outside diameters All outside diameters All outside diameters 50 mm max.
    STK490 490 min. 315 min. 490 min. 7/8 D 90° 6 D
    NOTE 1  D of this table is the outside diameter of the tubes.
    NOTE 2  1 N/mm²—1 MPa
    Note a) Standard of bend angle shall be the start point of bending.
  • JIS G3444 GRADE STK490 TENSILE TEST PIECE AND THE MINIMUM VALUE OF ELONGATION

    Symbol of grade Tube Manufacturing Method
    Seamless and butt welded Electric resistance welded and automatic arc welded All manufacturing methods
    Applied outside diameter
    All outside diameters 350 mm Over 350 mm All outside diameters
    Test Piece and Direction of Test Piece
    No. 11 test piece
    No. 12 test piece
    No. 11 test piece
    No. 12 test piece
    No.5 test piece No.4 test piece
    Tube axis direction Tube axis direction Perpendicular to tube axis direction Tube axis direction Perpendicular to tube axis direction
    STK490 23 23 18 21 17
    For the tubes of outside diameter 40 mm or under, the elongation value in this table shall not be applied. However, the test result for these tubes shall be recorded. Further, the elongation may be specified by agreement between the manufacturer and the purchaser.
  • DIMENSIONAL TOLERANCES OF JIS G3444 STK490

    - Outside Diameter Tolerance a)

    Classification Outside Diameter b)
    Tolerances on
    Outside Diameter c)
    Applicable Division
    Class 1 Under 50mm ± 0.5mm
    Applied when there is no specification.
    Applicable to hot-finished seamless steel tubes.
    50mm or Over ± 1%
    Class 2 Under 50mm ± 0.25mm
    Applied when there is a specification.
    Not applicable to hot-finished seamless steel tubes.
    50mm or Over ± 0.5%
    Notes a) For the local parts such as repaired parts if the wall thickness can be confirmed to be
    within the tolerance in the table below, the outside diameter tolerance of this table need not be applied.
    b) The method for measuring the outside diameter of tubes exceeding 350mm in outside diameter may be determined by the circumferential length. The mutual conversion of outside diameter D and the circumferential length l shall be by the following formula:
         D = l  / π
    Where D: outside diameter (mm)     l: circumferential length (mm)    π:3.1416
    c) The tolerances on the outside diameter of ends of electric resistance welded and automatic
    arc welded steel tubes exceeding 350mm in outside diameter shall be ±0.5%。

    - Wall Thickness Tolerance a)

    Classification For Seamless Steel Tube For Other than Seamless Steel Tube Applicable Division
    Wall Thickness Tolerance of Wall Thickness Wall Thickness Tolerance of Wall Thickness
    Class 1 Under 4mm +0.6mm, -0.5mm Under 4mm +0.6mm, -0.5mm
    Applied when there is no specification.
    Applicable to hot-finished seamless steel tubes.
    4mm or Over +15%, -12.5% 4mm or Over to and excl. 12mm +15%, -12.5%
    12mm or Over +15%, -1.5mm
    Class 2 Under 3mm ±0.3mm Under 3mm ± 0.3mm
    Applied when there is a specification.
    Not applicable to hot-finished seamless steel tubes.
    3mm or Over ±10% 3mm or Over to and excl. 12mm ±10%
    12mm or Over +10%,-1.2mm
    Notes a) The tolerances on the wall thickness of tubes exceeding 1016.0 mm in outside diameter may be agreed upon between the manufacturer and the purchaser.

  • MARKING OF JIS G3444 STEEL GRADE STK490

    Each tube having passed the inspection shall be marked with the following items on each STK490 tube. For tubes of smaller outside diameter or when there is a special request by the purchaser, marking may be applied on a bundle. The order of arrangement of the markings is not specified. When approved by the purchaser, part of the items may be omitted.

    • Grade symbol

    • Symbol representing the manufacturing process. The following symbol should be used to indicate the production technique. However, a space may be used in place of the dash.

      1. As welded steel tube with electric resistance: -E-G

      2. Hot finished electric resistance welded steel tube:  -E-H
      3. Cold finished electric resistance welded steel tube:  -E-C
      4. Butt welded steel tube:  -B
      5. Automatic arc welded steel tube:  -A
    • Measurements Outside diameter and wall thickness should be noted for dimensions.
    • The manufacturer’s name or an abbreviation of the manufacturer’s name
    • Symbol representing the coating kind (in the case of using coated steel sheet or coated steel strip). The maker and purchaser shall agree on the symbol’s abbreviation.
We use cookies and other tracking technologies to improve your browsing experience on our website, to show you personalized content and targeted ads, to analyze our website traffic, and to understand where our visitors are coming from.